COURSE
COURSEAppiKogen Golf Club
- TOTAL: 6,640 Yards Par71

- Hole-by-hole Guide
- Ayako Okamotoin charge of course setup for the LPGA Championship Konica Minolta Cup
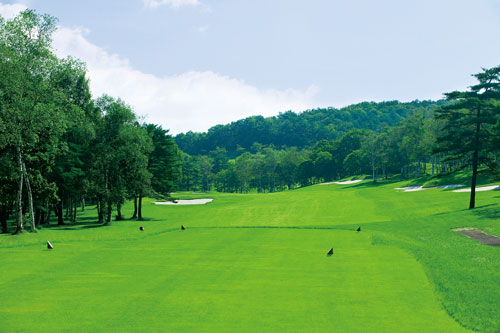
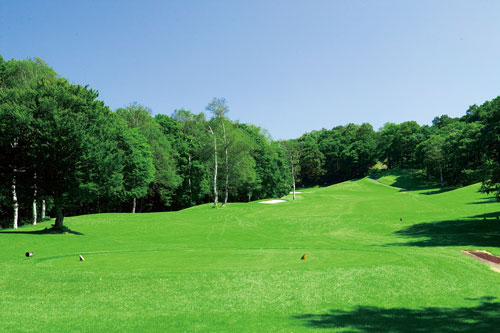
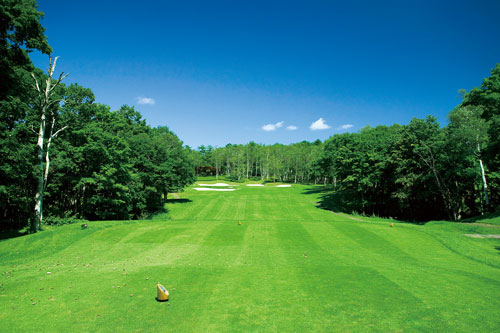
HOLE 1- 400 Yards Par4 -
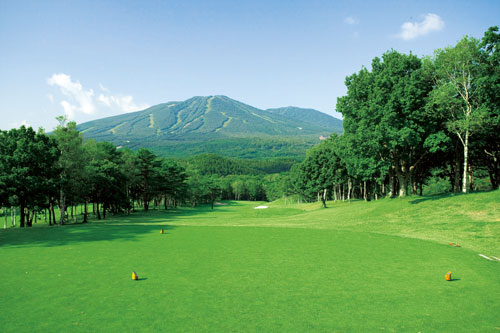
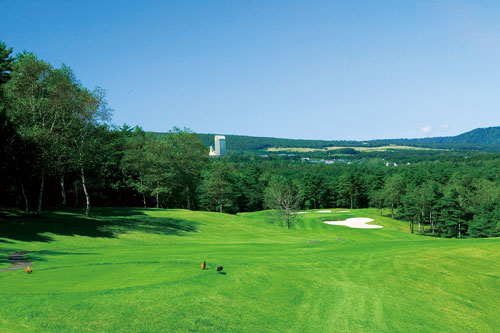
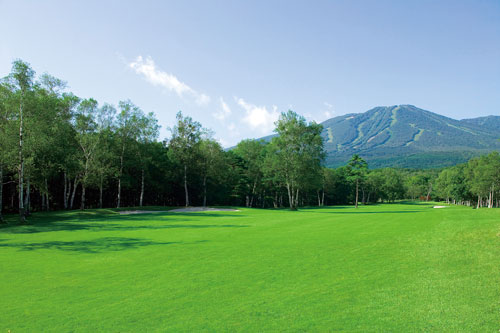
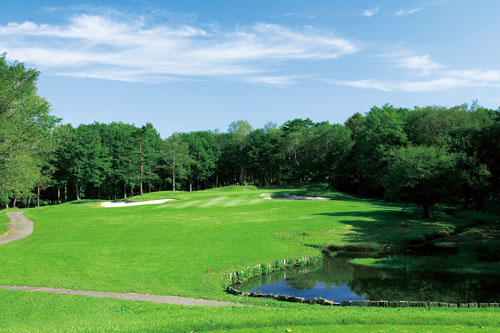
This straightway opening hole requires a well placed tee shot to a very narrow, 14 yards wide, fairway. Players will face toward Mt. Maemori and a downhill tee shot must navigate alongside bunkers right.
HOLE 2- 350 Yards Par4 -
Players club selection, driver or fairway wood, is crucial on this hole. Distance isn’t so long but a fairway winds gently.
HOLE 3- 450 Yards Par4 -
This hole can be a drivable Par 4 with an easy mind. But only 20 percent of the players could have potential birdie opportunity in two as this hole was traditionally par 4. Players must pay attention to their distance control, accuracy, and recovery in case that they should failed green in regulation.
HOLE 4- 150 Yards Par3 -
This hole has so undulating a green that it could be difficult for a player to birdie easily. Players should place their tee shot on the center of the green as an approach shot from surrounding of the green couldn’t be easy
HOLE 5- 515 Yards Par5 -

This is the dogleg hole to the right. A long hitter has potential birdie opportunity. This hole requires a tee shot that navigates on the bunker on the right side of the fairway. The second shot in the trees lower ground right will trouble players about saving par.
HOLE 6- 370 Yards Par4 -
This Par 4 features a straight downhill tee shot to the center of a fairway that is a blind shot. Off the tee, it worries players which to pick up driver or fairway wood. The fairway ends at 220yards, which makes this hole more intimidating.
HOLE 7- 370 Yards Par4 -
The shot placement is crucial on this hole. Distance isn’t so long. But players must thread their downhill tee shot between the fairway bunker left and a silver birch tree on the center of the fairway. From here, they will face an approach to a green guarded by a big bunker short right.
HOLE 8- 185 Yards Par3 -
This Par 3 requires an uphill tee shot to the long green sloping left to right. Off the tee, players face a challenging tee shot as they can’t see the base part of the pin. Players’ club selection is crucial.
HOLE 9- 410 Yards Par4 -
This Par 4 requires an uphill tee shot to a very narrow, 15 yards wide fairway. Off the tee, players will face toward the club-house and then must navigate between the both rough areas to avoid bogey. Long distance is so crucial.
HOLE 10- 410 Yards Par4 -
A downhill tee shot must navigate between the trees on both sides that appear to be pushed out inside, for which a player would feel a fairway quite narrow. Off the tee, players can’t expect her ball placement but their skill as professional should excite us definitely.
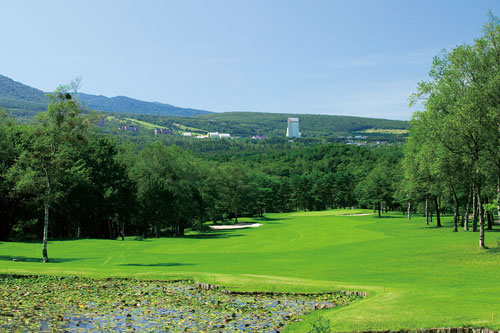
HOLE 11- 550 Yards Par5 -
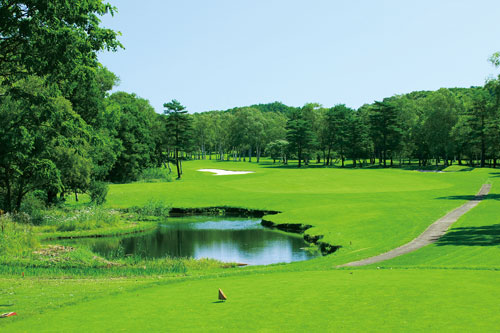
This dog leg hole to left Par 5 requires a well placed tee shot toward the pine tree on the center of a fairway to avoid boundary left. Distance control is crucial as a fairway appears just flat but indeed a little uphill. A small green not only sloping left to right, but periphery to center would also be intimidating. If the second shot don’t reach the green, players should go for a green in three.
HOLE 12- 395 Yards Par4 -
This Par 4 dog leg hole to left plays uphill with boundary almost all the left side. Players’ club selection would affect their green in regulation.
HOLE 13- 440 Yards Par4 -

This Par 5 requires a downhill tee shot the placement of which players can’t see off the tee and careful attention to the wind is necessary. The second shot plays an uphill approach to a wider elevated green. If the approach shot placement is inside right, a player must concentrate on the distance to pin. This is the most crucial hole for those who struggle for win. Anyway hit a tee shot toward Mt.Maemori !
HOLE 14- 175 Yards Par3 -

This Par 3 plays a little uphill to a wider and shallow green guarded by a front deep bunker. A player needs a accuracy in distance.
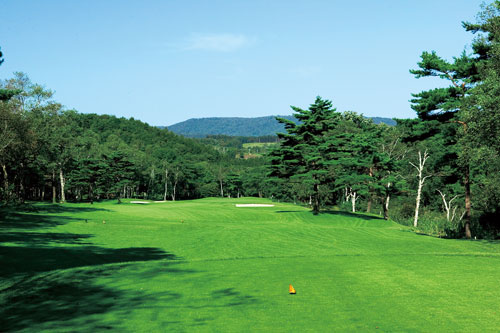
HOLE 15- 405 Yards Par4 -
This flat long Par 4 winds so gently and tough for those who hit both a draw and a fade ball. A tee shot must navigate through the left side of the fairway to avoid a big bunker right.
HOLE 16- 370 Yards Par4 -
This gently downhill Par 4 futures fairway bunkers and boundary right. Distance isn’t so long, but the trees on both sides are pushed inside the fairway. Players will feel less comfortable and narrow in addressing.
HOLE 17- 180 Yards Par3 -
Distance control is crucial on this long Par 3. The green arranging silver birch trees back is so lovely. The winds blowing through the tee adds a certain element of uncertainty for player’s club selection, much more in upwind.
HOLE 18- 515 Yards Par5 -
This closing Par 5 features the possibility for a long hitter to reach the green in two and turn the tables. An approach shot needs distance. This hole has potential eagle or birdie opportunity.